18/01/14
While my painting of the control surfaces continues, Sam has been busy getting the panel sorted. He's pretty much finished, and here's how it looks.
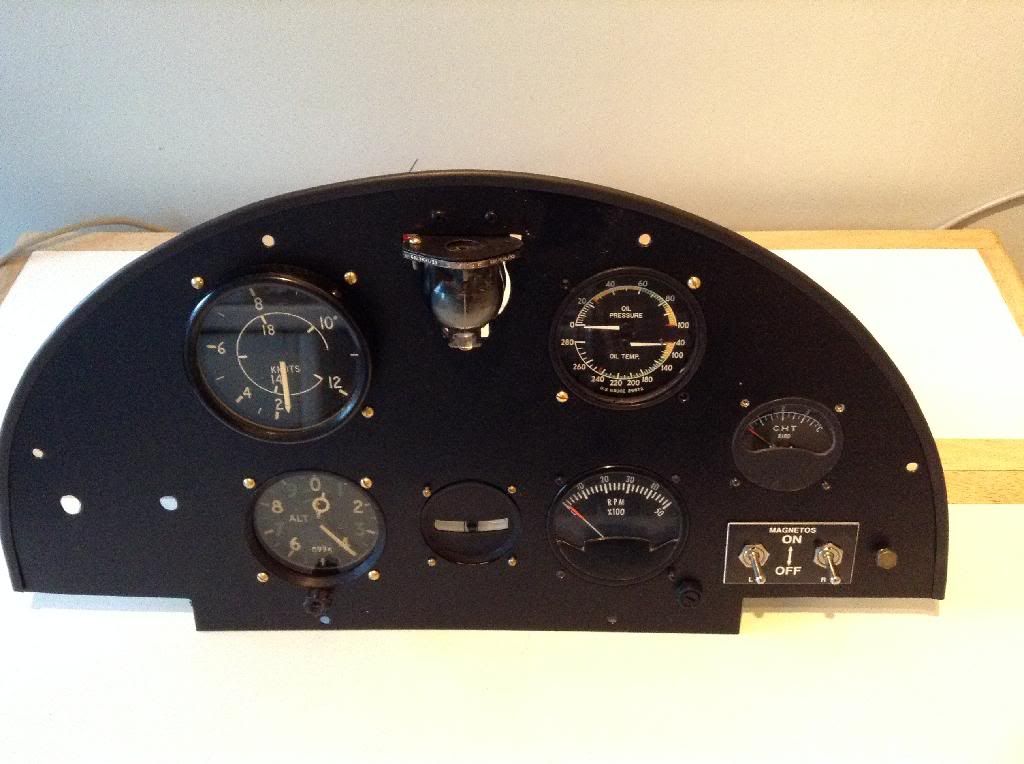
The paint scheme is a system that's used a lot in America, and that we are currently getting approval from the LAA for, for use on the wing's (unsupported fabric) structure. To save the traditional long-winded spray system requiring various coats of stinky and expensive paints, the system involves applying two layers of smooth exterior paint, followed by a coat of external trade standard gloss. All layers can be rollered on, creating a superb finish when a fine grade foam roller is used. The paints have inbuilt UV protection, are fire resistant and are non-toxic. As a system, it has been used on various aircraft (Minimax etc) with success, including some well known British red display jets...
The test panel we have made is a requirement of the LAA as a panel that will be stored outside once completed to allow is to regularly check it's condition.
18/01/14
If someone had told me five years ago that there'd be a day when I chose to stay in a workshop working on an aircraft build instead of go flying, I'd have laughed. Well, the sun is out today and the Cub has stayed in the hangar, so I can paint!! My wife put my headsets out on the breakfast table and was a bit surprised to see them still there at 1100 hrs.
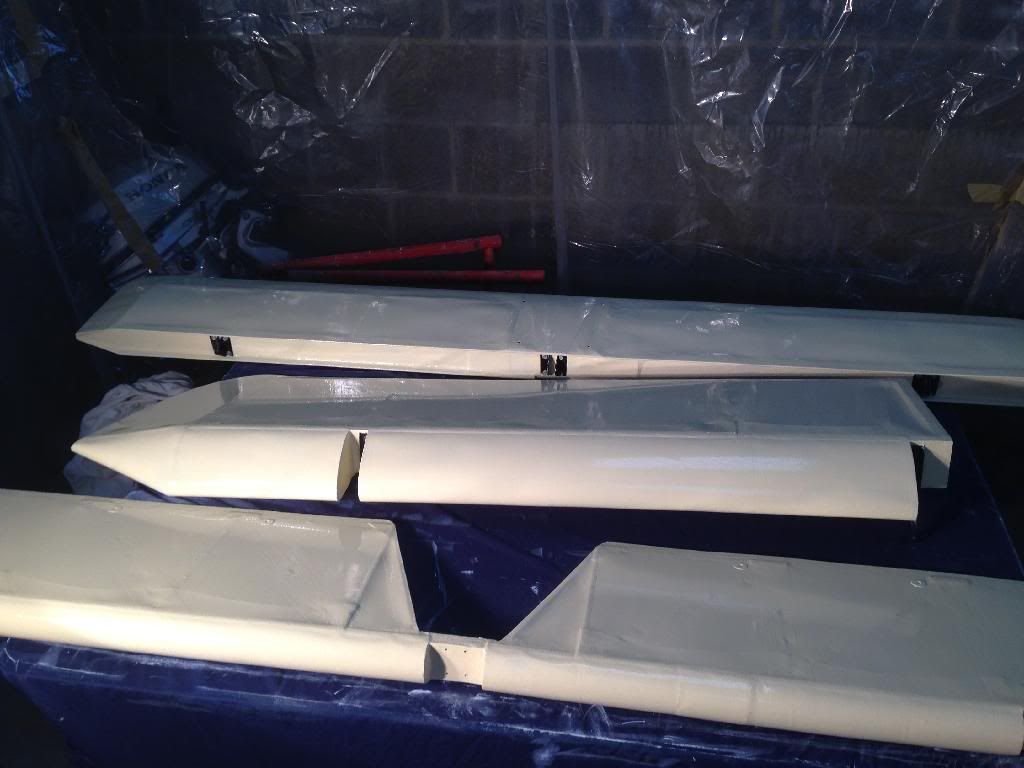
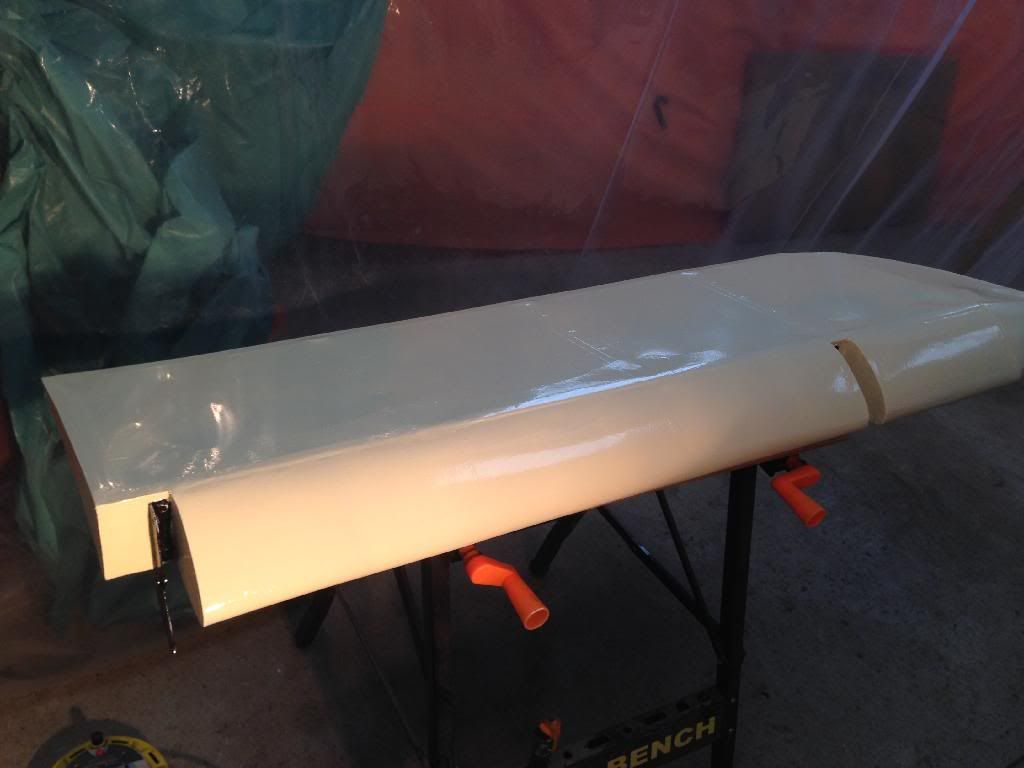
Lots of progress in the past 48 hours. I've focused on the control surfaces first, giving them two base coats and two light gloss coats. I'm pleased that the fabric weave is still visible through the paint, indicating that the coats have been the right thickness. The finish provided by this system is pretty impressive, although it does require one to be a little on the obsessive side to get it right.
Aileron x1, tailplane and elevator.
Fuselage with two base coats and awaiting first light gloss coat. I plan to do that tonight.
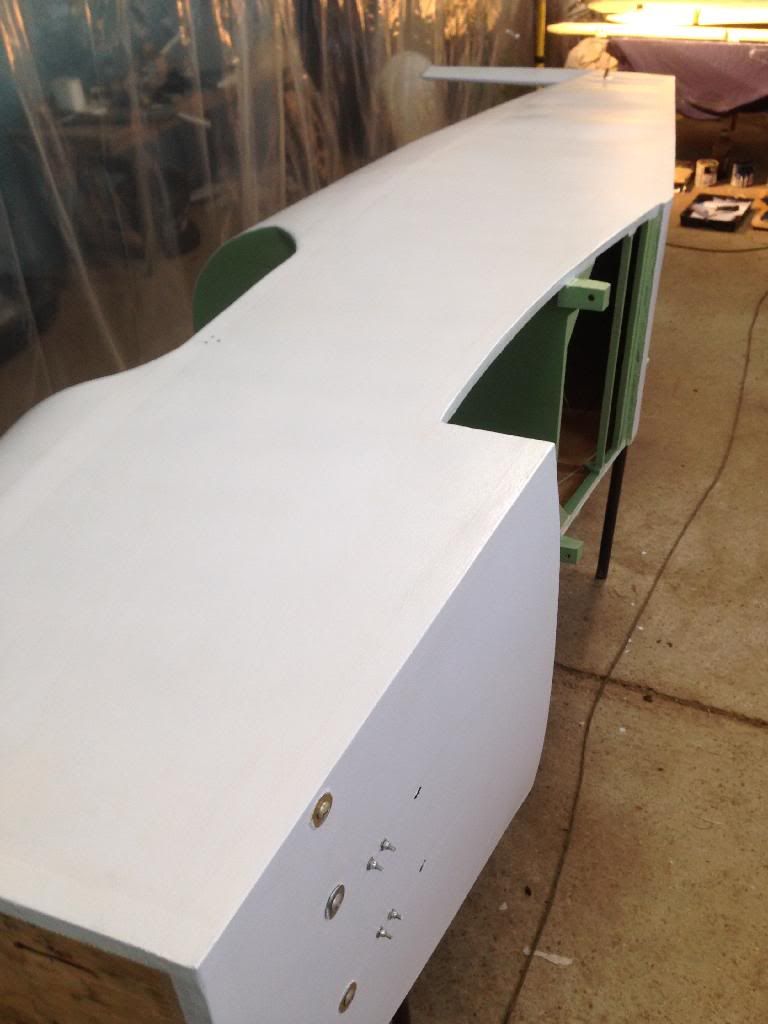
Bit more of the fuse
A half finished aileron
Ideally, I'd like to have the painting all wrapped up by the end of next week. Getting the lines in the right place where the two colours meet will take some planning, but I'm pretty sure I've worked out how to do it safely.
21/01/14
Well, today was a boy's trip out to buy a propeller for ARIM.
We knew there was only one real option for something that would maximise performance and I called Rupert Wasey at Hercules Propellers yesterday to check it was ok to call in and see him today. He said to call in whenever, and that he would be there.
What a lovely chap and what a superb business!!
We had a full guided tour of what can only be described as an aviator's heaven. We saw the whole system in detail from the beech raw material 'planks', through the bonding process, then the CNC process, followed by the hand crafting section, and finally followed by the finishing and painting section.
We knew we were going to buy one before we arrived, but by the time we left we were very close to ordering three. One for the Turb, one for my Cub, and one for Sam's Luton. The Turb one is ordered, and the Cub/Luton ones are very soon to be...
Thanks Rupert (in case you ever read this). You gave us more of your time than we expected and it was appreciated.
There's no point in a boy's trip out without a pub lunch (we tried driving to Kemble's Aviator but couldn't find the right way in once through the main gate to the airfield! ) so we went to an old haunt of mine when I was at Ag' college near there.
When I arrived home I was pleased to see that the registration lettering had arrived. Mirage Signs (Warminster) did them and they were incredibly helpful throughout the whole ordering process, and I can highly recommend them. Ask for Pete; he's a top chap.
Then, an hour's painting of flying control surfaces, and it's time for meatball arrabbiatta with linguine.
I can feel another project coming on.....
21/01/14
Had a look at the reg letters that arrived a couple of days ago. They are spot on, and it feels like she finally has an identity.
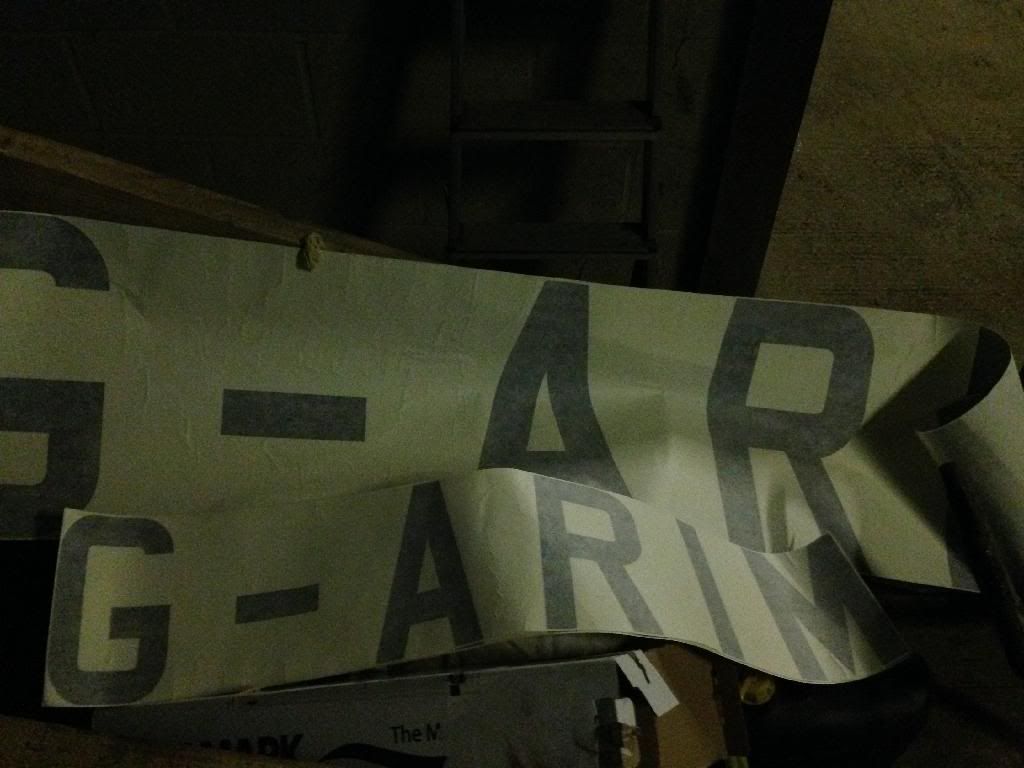
I didn't realise quite how much time it would take choosing a suitable font. The initial ones we were offered were either very modern looking, or just too 'harsh'. In the end we trawled through loads of other Turb pics and found a font we liked. It turned out that it was an option and is a post-war RAF font. We like it anyway. Does anyone know its official name?
When discussing the reg font with Mrs M a week or two ago, she (with her reasonable GA knowledge) asked if we had considered re-registering the Turb in Germany. I asked why on earth we would want to do that. Her response, which was well thought out, and still makes me laugh now, was...
"Well you could register it D-UREX, because it's a pretty good contraceptive with you out in the workshop all night".
24/01/14
28/01/14
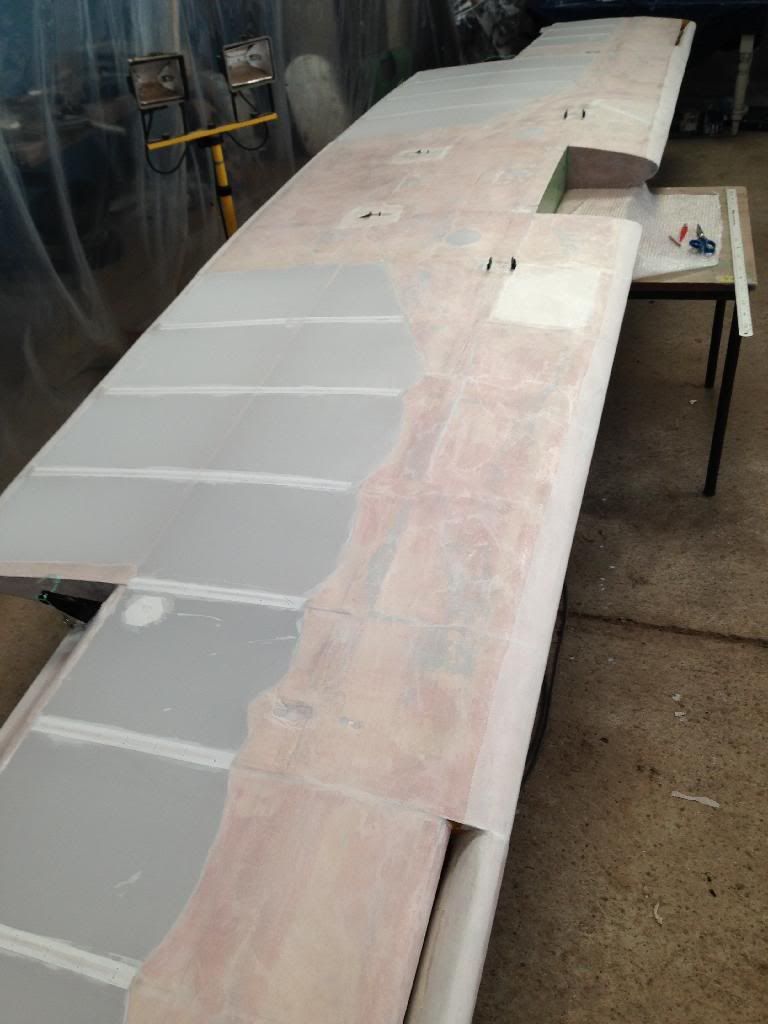
With the fuselage set aside for a week to let the first colour of paint harden (I'm still worrying that removing the masking tape after I apply the second colour will take a neat line of the first colour off...), we decided to make the most of the time and get the wing ribs stitched and taped.
Putting the one-piece wing back in the cowshed reminded me how big it is compared to the fuselage.
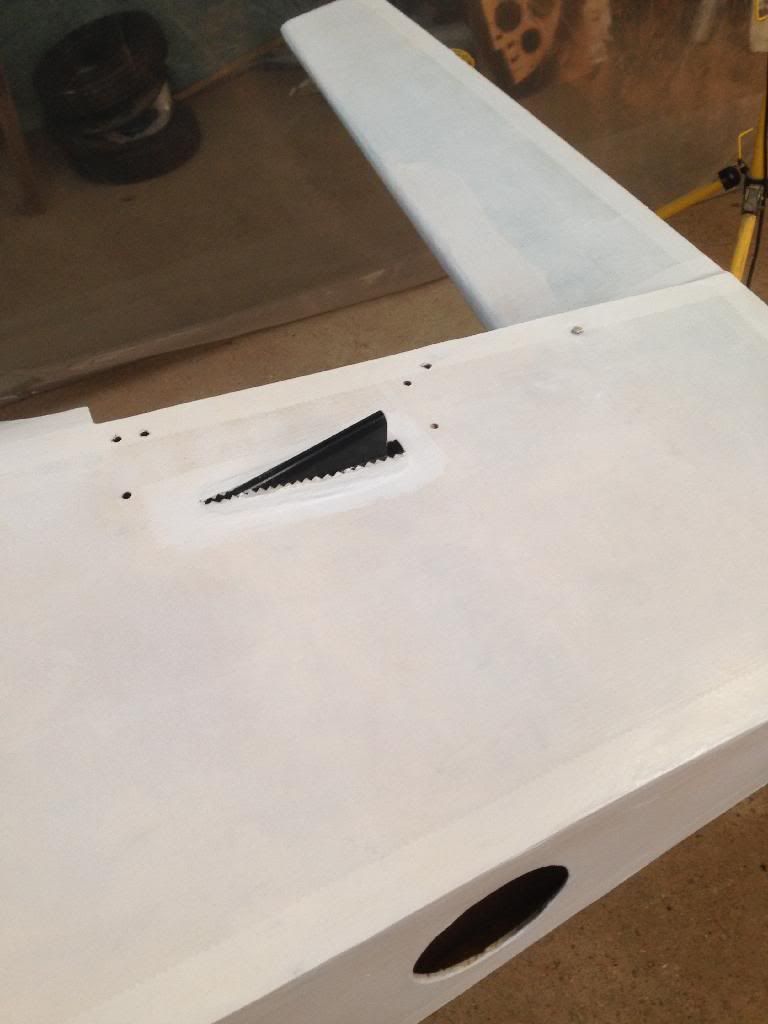
For those who don't know, the purpose of rib stitching is to attach the fabric to the ribs that run throughout the wing. This stops the fabric lifting away from the wing in flight, retaining its aerofoil shape. The faster the aircraft's VNE, the closer together the stitches need to be. The Turb is having two inch spacings on the wing, sufficient for a VNE of 150 kts.
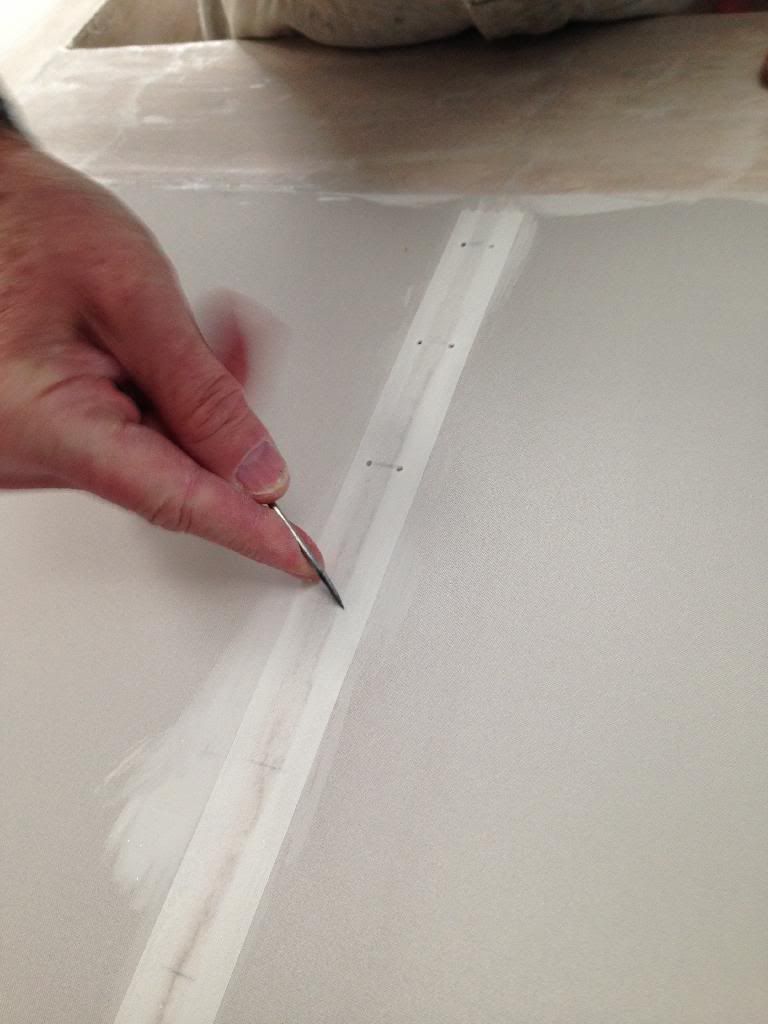
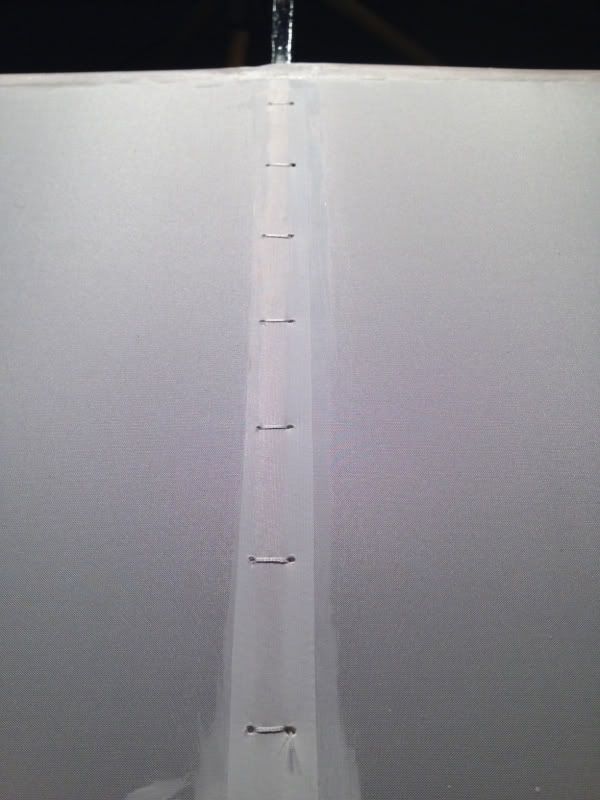
To start with, the spacings are carefully marked out, ensuring that no stitches will fall somewhere where they might foul on part of the internal pulleys/cables etc. After cementing a narrow fabric strip to the wing fabric along the line of the rib (to add strength for the stitching and to stop the stitch chafing on the rib), small holes are made either side of the rib with a stitching needle. These help a lot when doing the stitching. I did wince a a little doing this, as it seemed rather bizarre to be stabbing holes in such a lovely covering...
Marking Out
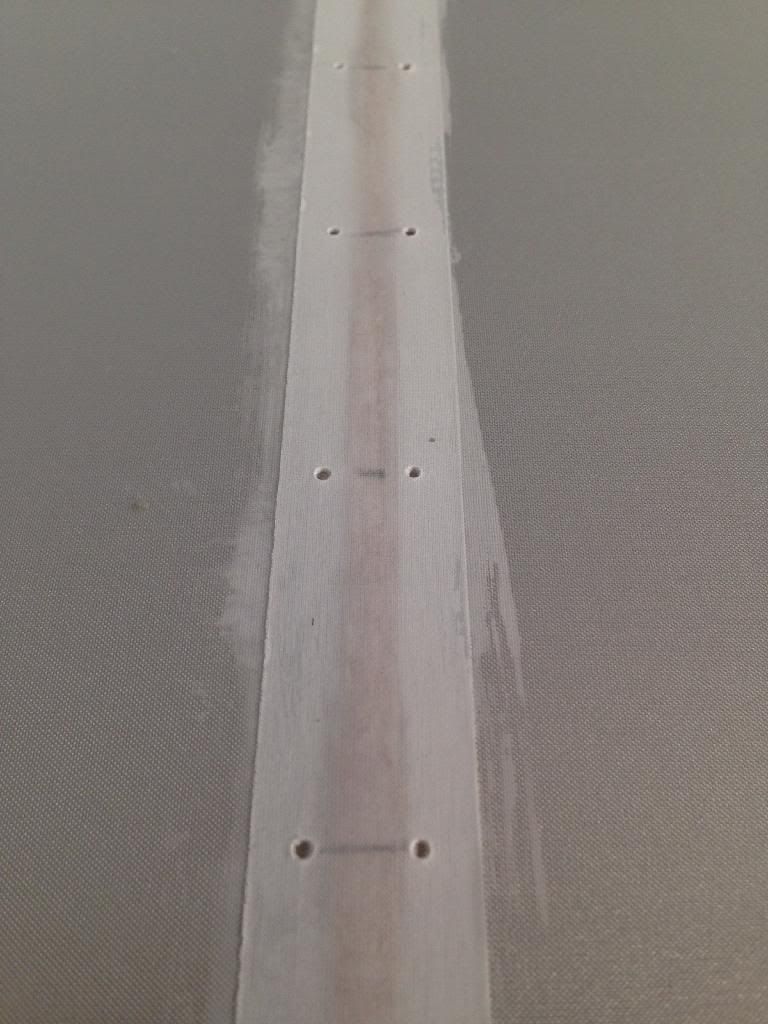
A Finished Row
Wing Ready for Stitching
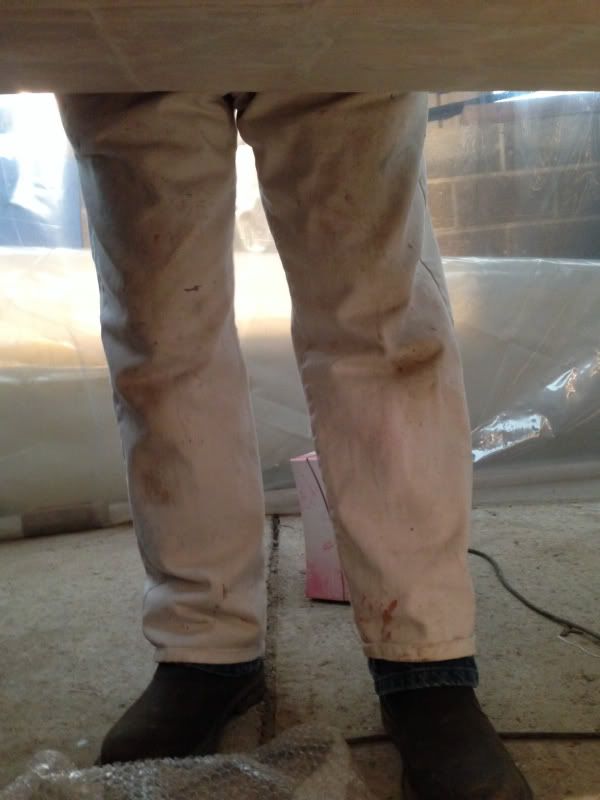
Today we will be starting stitching. When I asked Sam if we might manage to do both sides by tonight, I was met with another of his 'don't be so impatient' looks, so I agreed that one side would be just fine. My job will be lying underneath on a big heap of bubble wrap passing the needle back up through the wing for most of the morning.
31/01/14
We'll, after 174 stitches, a few swear words, enough tea and cake to feed a Scotsman, and some sore fingers, the stitching is done. This leaves the tapes to be cemented over the rows of stitching, and then it's time for painting the wing.
A neat row of completed rib stitches.
We decided that it would be easier if I was below the wing (to verbally guide needle into hole, and then pass it back up the neighbouring holes to enable Sam to do the actual knot from above. So, it was 8 hours lying underneath the inverted wing, on a big heap of bubble wrap, with the following view....
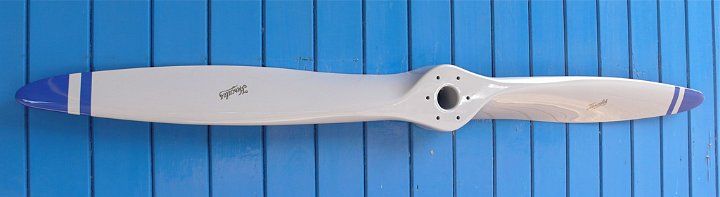
As mentioned, the prop is now on order, and the deposit was paid this week. We have gone for one that'll look like this; a lovely light grey with matching tip colours for the paint scheme. Rupert thinks it'll be 6 weeks before it's ready, which we are hoping will time nicely with when we are putting it all together.
I don't know about everyone else, but I'm getting pretty twitchy about the length of time ago that I last flew. It's a fortnight now, and the strip has had yet another dose of water today, with even heavier rain forecast next week, and some pretty awful winds in between. Still, at least it's giving us plenty of time to focus on this project.