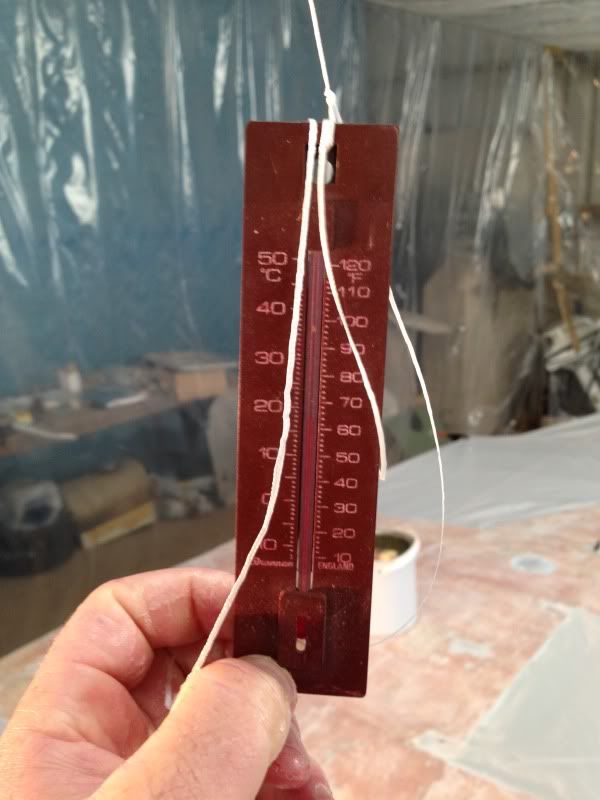
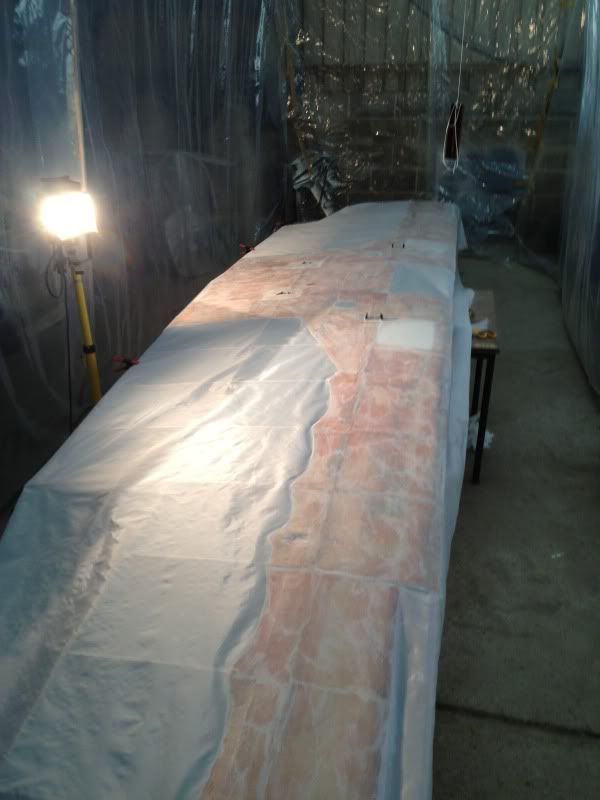
With temperature for fabric work being important, we managed to get the poly-booth up to at least 16 degrees for the glue to dry properly. A little electric heater and some free-standing lamps did the job, and we were toasty.
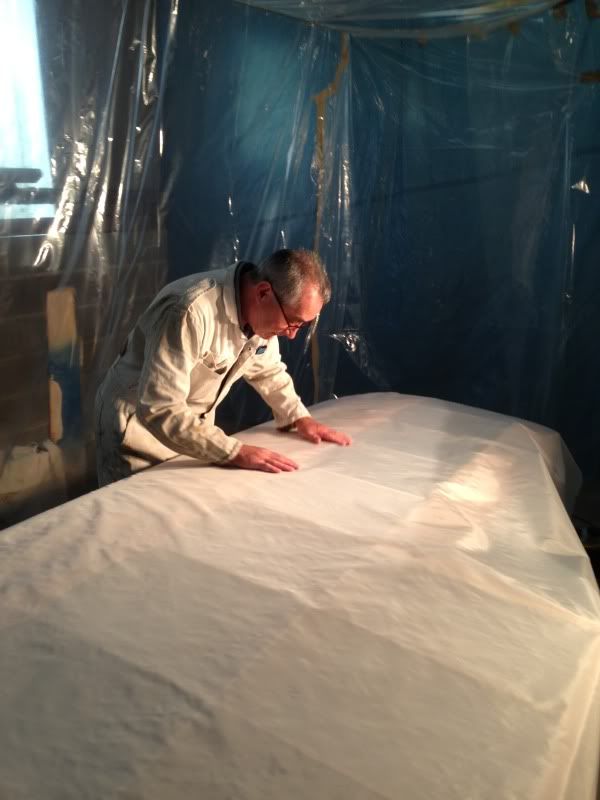
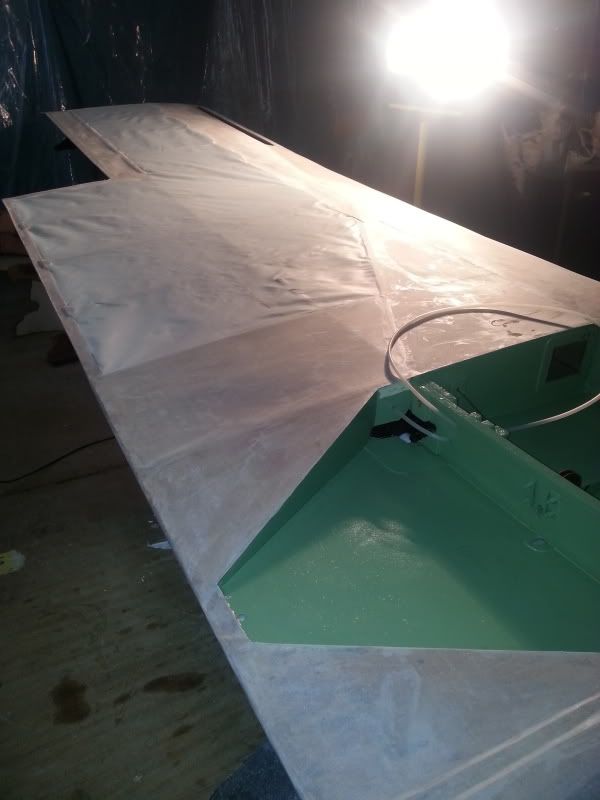
The fabric was laid out across the underside of the wing (underside done first so the top layer overlaps over the leading edge by a couple of inches). Sam spent a good 10 minutes making sure the weave in the fabric was nicely lined up with the wing.
It was then clamped out, to ensure it doesn't move when applying the glue. Starting at the middle, the glue is applied so it penetrates the fabric and bonds with the previously applied glue layers on the plywood airframe. We worked away from centre, keeping the fabric straight, re-clamping when required, and brushing away to get as much adhesion as possible.
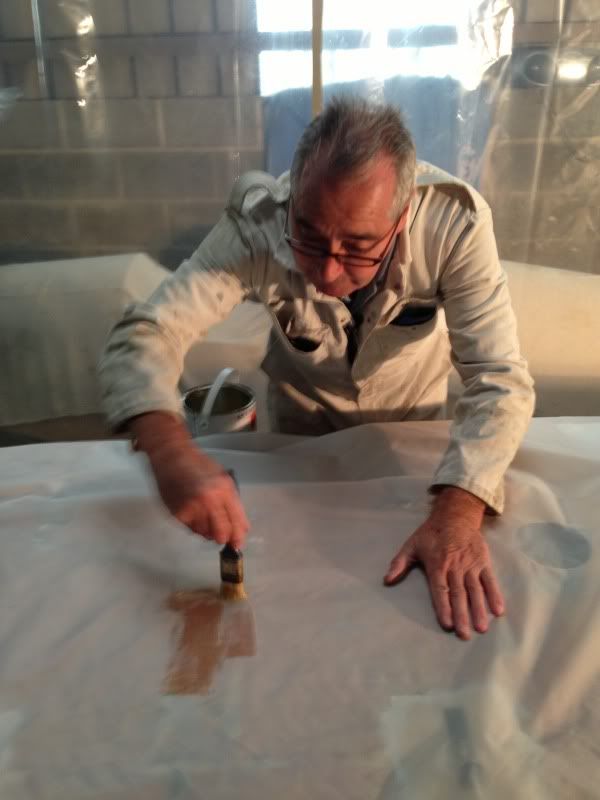
The first glob
Getting the positioning right to avoid any creases or air bubbles.
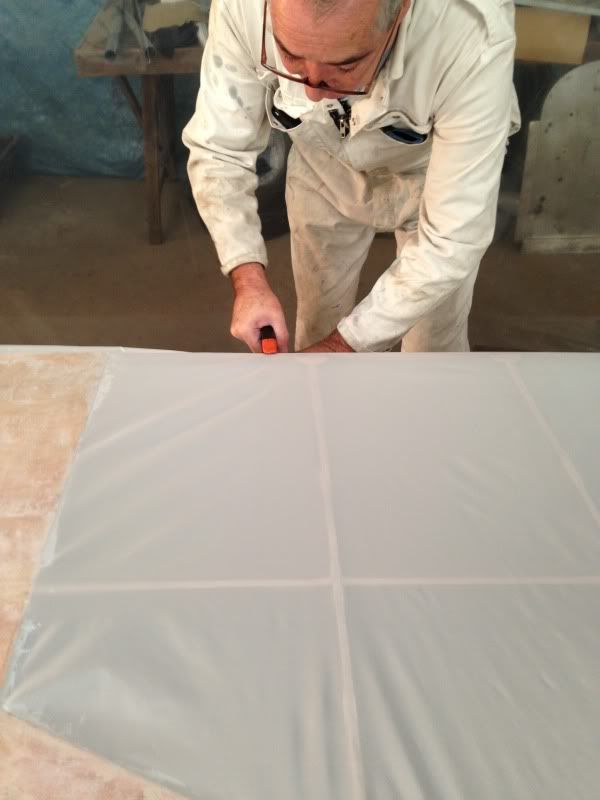
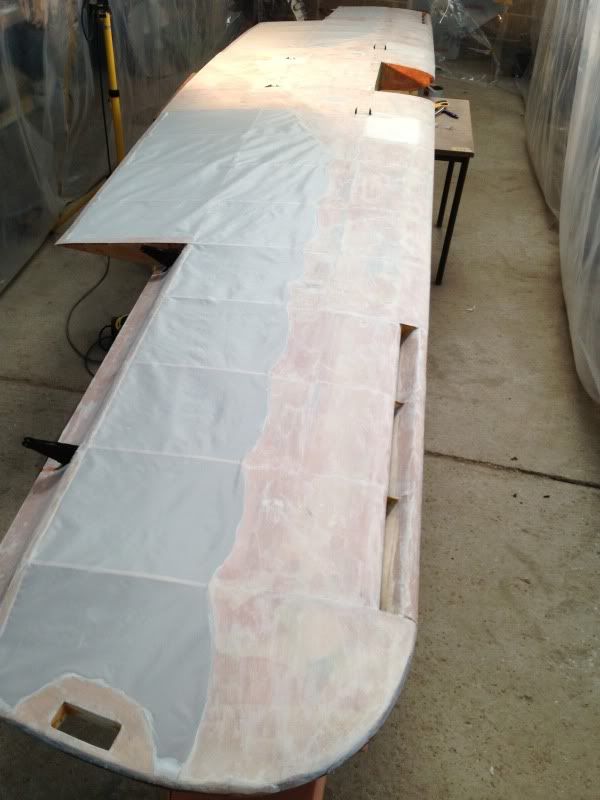
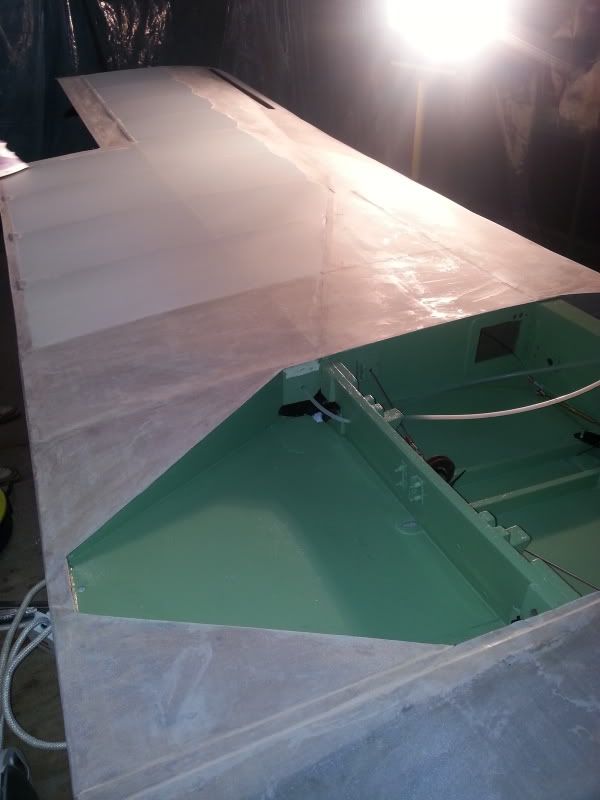
After an hour or two we'd pretty much finished most of the underside of the wing, and were at the point where the fabric could be glued to the trailing edge. I won't deny I was pretty high on the fumes of the glue by this point....

Tomorrow, the plan is to attach the fabric to the trailing edge and then leave it for 24 hours to dry before we start the shrinking process.
I probably should have worn gloves today.... The glue drys and leaves a layer of well bonded gunk on hands. Peeling it off is almost as satisfying as popping bubble wrap, but it doesn't half feel weird.
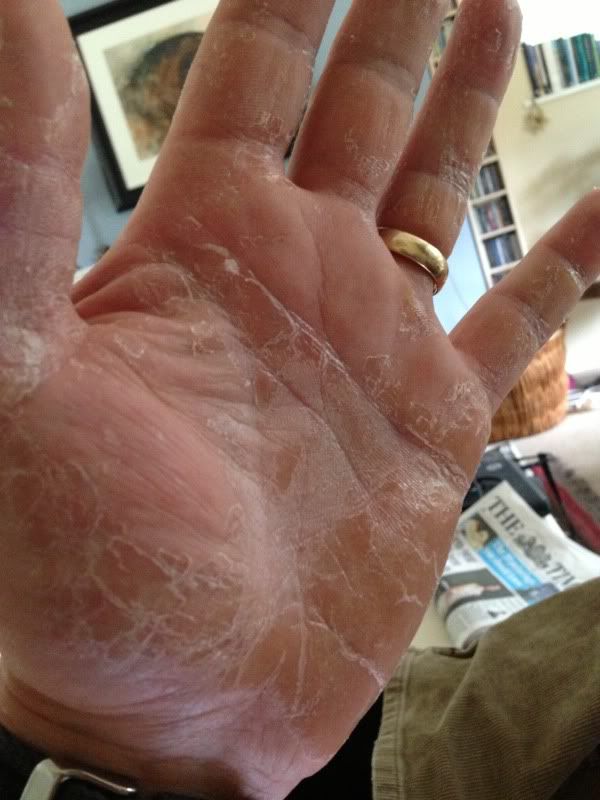
Turb' leprocy.
A quick before and after pair of pic's, just for interest...
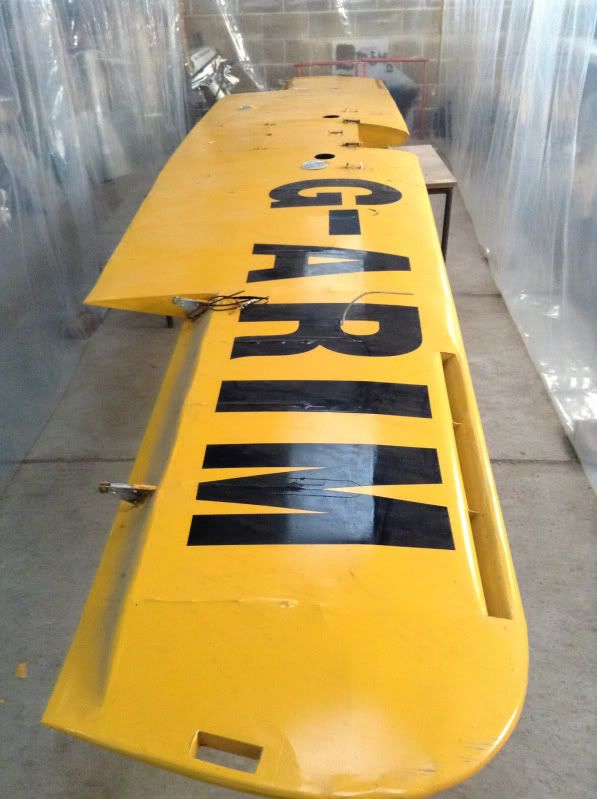
Before...
After...
More to come later this week....
02/10/13
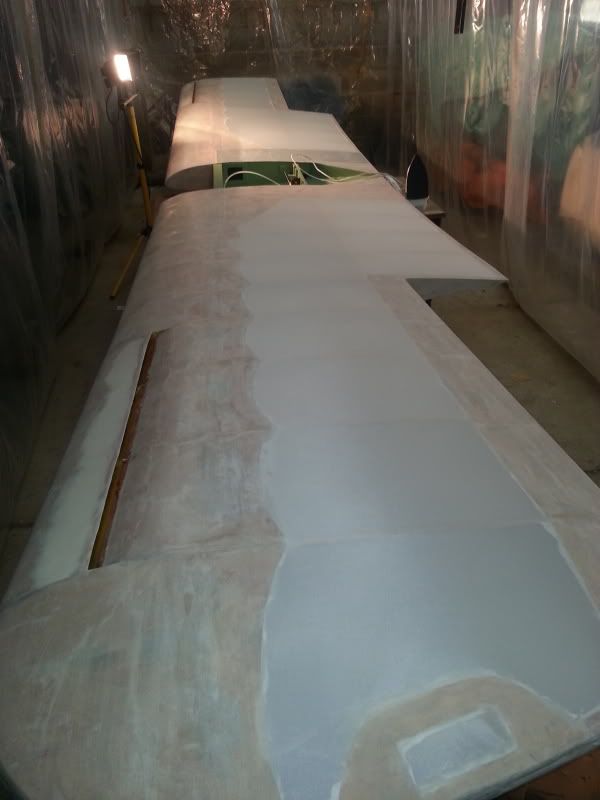
Gluing of underside of the wing finished today.
Fabric tightening tomorrow/Friday, and then the top side to do.
03/10/13
And today was the day. We finally have a wing that looks like a wing.
After much doping, gluing of fabric to ply sections and tinkering, it was time to shrink it.
Pre-shrink...
Followed by some smooth wrist action by Sam with the Morphy Richards...
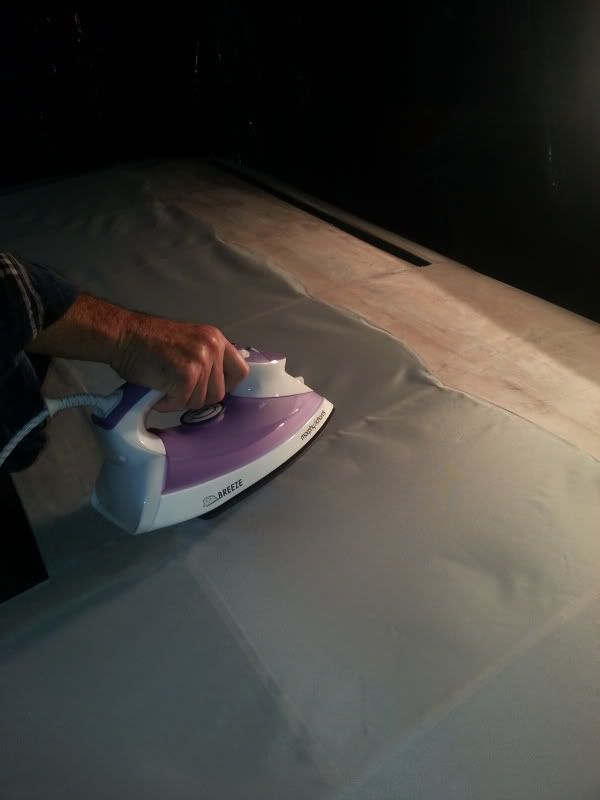
The temperature has to be taken up in stages, starting at 130 Celsius, and gradually increasing the temperature to 175 Celsius as you go. Max temp is 200 before it all goes pear shaped.
The fabric looked stunningly taught after shrinking and makes a satisfying twanging noise now when flicked.
After another hour the other side had been done and the wing is now ready for taping and stitching. Before anybody notices and comments, we are fully aware that we havn't yet cut out the wingtip hand-holds. That'll be a 5 minute job.
The Turbulent is a tiny aircraft, and the last few weeks have made me appreciate the number of hours that would go into doing a re-cover on something like a Cub/Auster sized aircraft.
We will be wrapping the wing in a protective layer of bubble wrap and putting it aside now. Although the taping and stitching is next, we are waiting to hear from the LAA as to whether our proposed painting system will be acceptable. Their response largely determines the method/timing of stitching. More on that later.
Next job will be to get the fuselage onto the operating table. That also requires fabric covering. That dope/glue doesn't half send you high
