For the past 12 months or so I have been keeping a re-build log of Druine Turblent G-ARIM. It has been running on another forum, but for various political reasons (moderators scared of a certain overpowering member and tiptoeing around him...), I have decided to continue it here.
The first few posts will be a summary of where it is to date (with dates), and as long as PPRuNe don't mind, I will continue it here, with a hope to be flying by the end of April.
A friend and I decided in 2011 that we needed a project. He's recently retired and a clever man with aircraft building, having built and re-built his own LAA type, and with a very keen eye for detail and accuracy. We decided it would be a 50:50 owned aircraft and I had to quickly think of what I could offer to be of any value to the project bearing in mind what he'd be offering from a technical perspective. So, an area of a farm building was cleared out, and the Turbshop was born. The arrangement is that he provides the skills and all engineering input and I provide the premises and the funding for the project, as well as some of the monkey work. Put even more simply.... He's the brains, and I'm the bank. Despite us both wanting a stunning Turbulent at the end, I won't go as far as to say the project was without an upper budget spend, but if she needed it, she would get it.
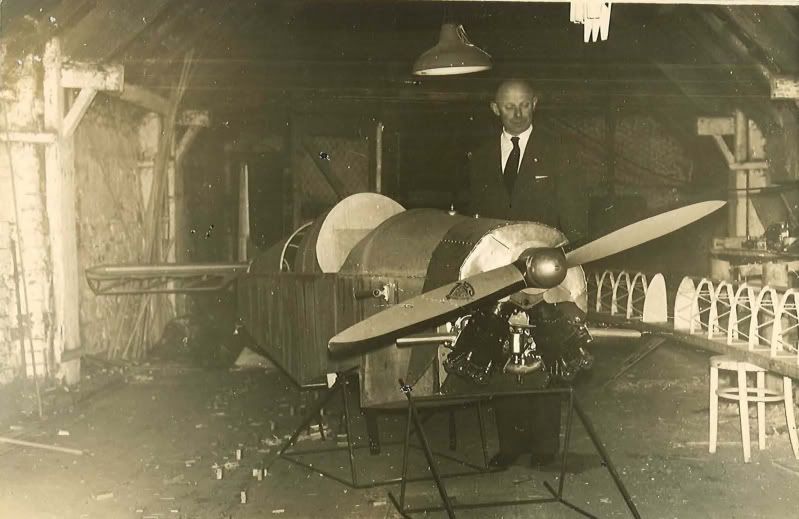
We didn't know what we wanted to restore from the outset. I've always had a hankering for a single seat, open cockpit low wing monoplane. We scanned the ad's for a few months and one day G-ARIM appeared. She was started in 1961 by an Adolf Schima and despite then being owned by various parties since then, was never actually officially flown, despite being granted numerous Permits to Test. Her PFA number is 501, so she is certainly an early bird.
Adolf Shima, with G-ARIM in the 1960's. Note the strange engine he was using.
We have been told that Mr Shima died before 'IM was complete and she was then sold to another party, who also died before she was completed. If I start feeling a bit peaky I'll let you know....
We found her in Cambridgeshire, with another of her many owners (who looked refreshingly like he wasn't about to die), and she was still in many bits. Little bits of work had been carried out by each owner, and she had travelled around the country with a surprising amount of hardware to get her completed. A deal was done, and she was duly collected in a glider trailer the following week. Sam decided we shouldn't buy the engine that came with her and that we'd source another one. The provenance of the engine she came with was not known, and it looked like it would be a major overhaul job, which, for the money being asked for it, made it unviable.
Shortly after, an engine was sourced from a lovely man up in Lincolnshire direction who was building a Hurricane replica. It was Autumn 2012 by that point, and Sam wisely decided to focus on getting the engine sound while it was cold and damp, rather than work on the fuselage. I had a call one morning from Sam telling me he had managed to rig up an engine test bed. Imagine my surprise when I walked into the Turbshop to see a cleverly adapted bomb trolley, that was now a mobile engine test bed!!
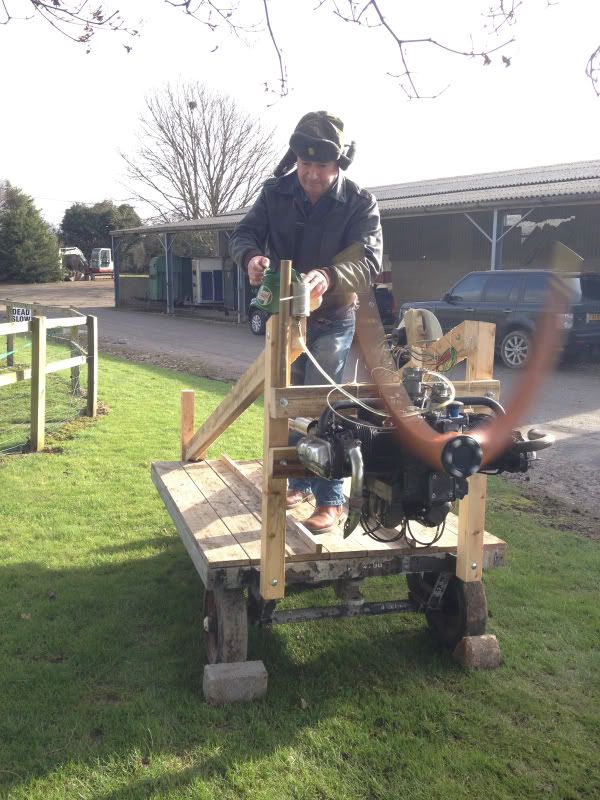
The little VW, being tested by Deppity Dawg. I know it looks a little bit 'Yeehaa' but it was all carefully planned.
A little clip of the third run since major overhaul...
Many happy hours were spent over the Christmas spell freezing my baubles off in the propwash of the little VW, making sure the carb was properly set up, that the heat system worked, that the timing was spot on, and that she did a good few hours of ground running before we inhibited her prior to final installation. A word of advice..... aircraft engine test beds and horse livery yards aren't perfectly designed to mutually co-exist, but Mrs M didn't complain once.
When we bought G-ARIM her fuselage was bare of fabric (but surprisingly intact) and her wings and control surfaces were fabric covered.
The wing, as we found it
The wing, after a stripping session.
We had planned to turn out an immaculate aircraft, and although one option would have been to accept the wing as it was, we decided to be completely thorough and strip the fabric off for a full inspection. Once this was done, the structure was surprisingly clean, constructed to a very high standard, and in good shape, although there was evidence of dampness at some point as some of the bolt heads were corroded. This wasn't a concern, as the plan had always been to replace them all anyway. The LAA inspector visited, and said what the man from Del Monte frequently says. We could keep progressing...
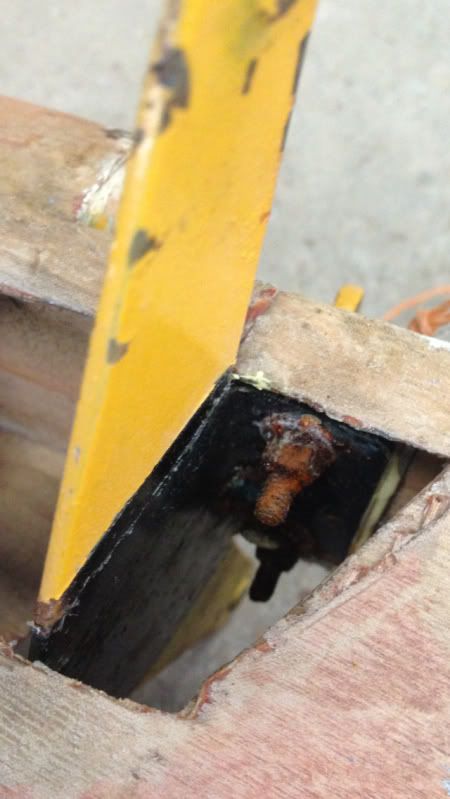
Many internal hardware items had rusted, despite their external ends being sound. A bit of an eye opener as to what could be lurking inside older aircraft...
Each and every bracket was removed, stripped and re-painted (that was one of the jobs I was trusted to do). Pulleys were replaced with new were necessary, all other hardware replaced with new regardless, any tiny wood joint weaknesses were strengthened, and new ply skin added where required. A slick little production line of metal parts worked their way through the home-made paint shop department of the Turbshop and then back into the assembly line for installation.
Paint shop
Sam's careful work
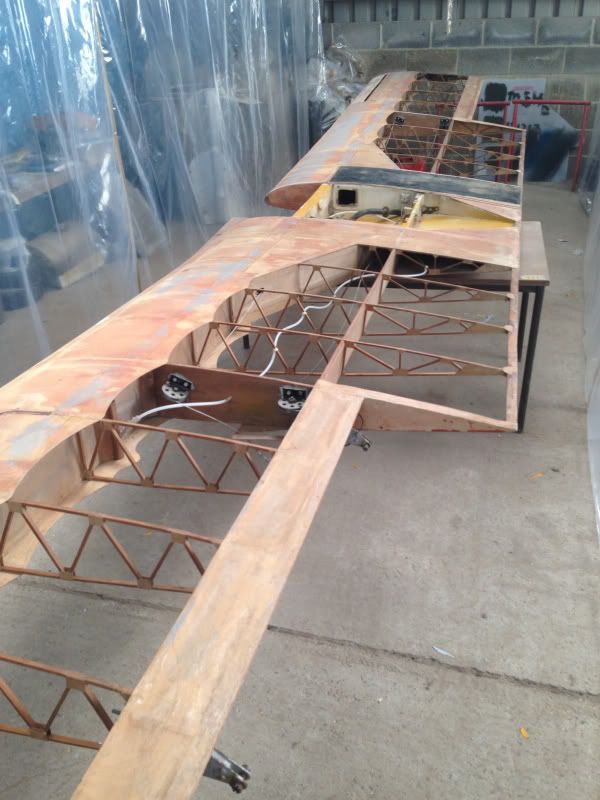
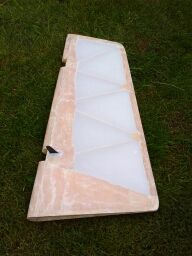
The wing as it is today, and pretty much ready for fabric
Items such as the undercarriage were sand blasted and thoroughly checked before re-priming and painting. The fuel tank was sent away for the addition of a new filler cap and neck, and for pressure testing. Rudder pedals were overhauled and put aside for installation, as were the wheels.
Sam has finished fabric covering the control surfaces and they're ready for painting.
Rudder with fresh fabric
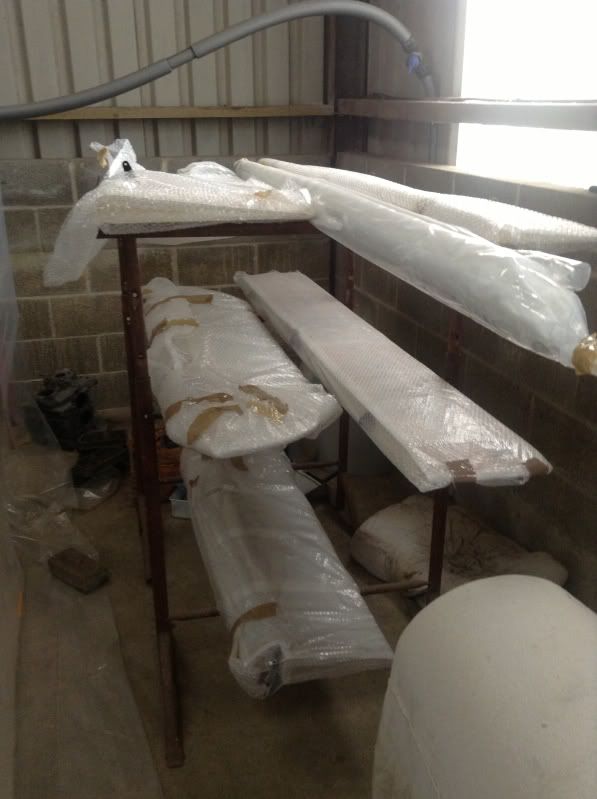
Control surfaces, fabric covered, bubble wrapped, stored, and ready for attachment.
The next job is to fabric cover the fuselage and wing which will be happening in the next week or two.
Fuselage waiting for fabric.

We've been asked several times what colour scheme we will be going with. The main aim is to keep it period, and there were therefore two options.
1. A single colour, as most Turbulents are, with registration and single stripe in a different colour.
2. A classic two-colour scheme.
I was all for number one, until I saw a well known Turbulent at a fly-in I went to, and I fell in love with it. In my opinion it is a simply stunning scheme, with lovely colours (Ipswich Bus Green apparently).
G-ASHT - the prettiest little aircraft I think I have ever seen.
We couldn't really copy it as that would have been cheating, but we decided we could use the scheme with different colours. So, Sam made up a little fabric test panel and the two colours, (after much deliberation) were chosen.
Fabric test panel for trying out paint
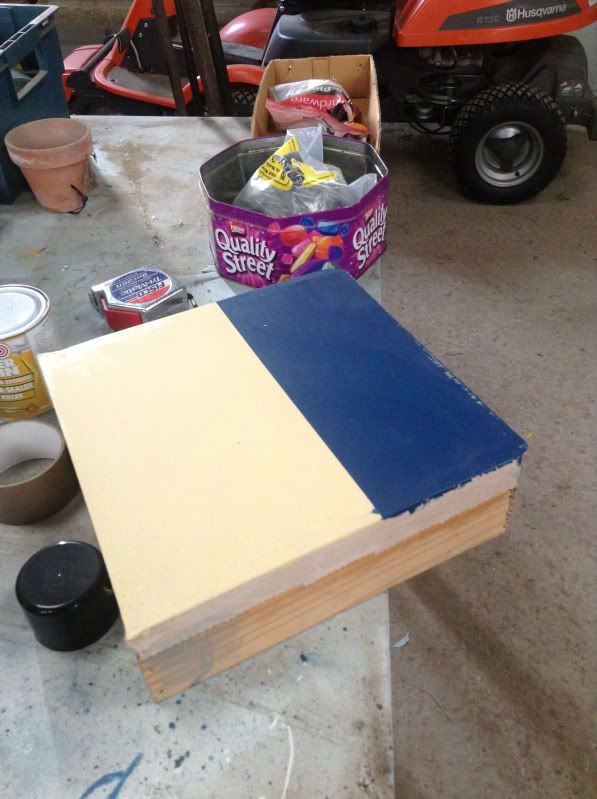
The Oxford Blue will be instead of the green, with the County Cream being the same. It'll look more like a Turb from the same clan, rather than a copy, I hope!! We took the opportunity to test out the strength of the fabric with the test panel. It has been:
1. Punched by my 12 year old son in an attempt to demonstrate his toughness. His fist came off worse than the fabric.
2. Bounced on like a trampoline by my 7 year old son.
3. Used as a axle stand for my quad bike when it had a puncture.
After such scientific test situations, I can formally report back that aircraft fabric is unbelievably strong and durable!!
17/09/13
A few weeks on, and harvest has been and gone. Sam has diligently been working on the Turb in the workshop, and I've been helping out when I can.
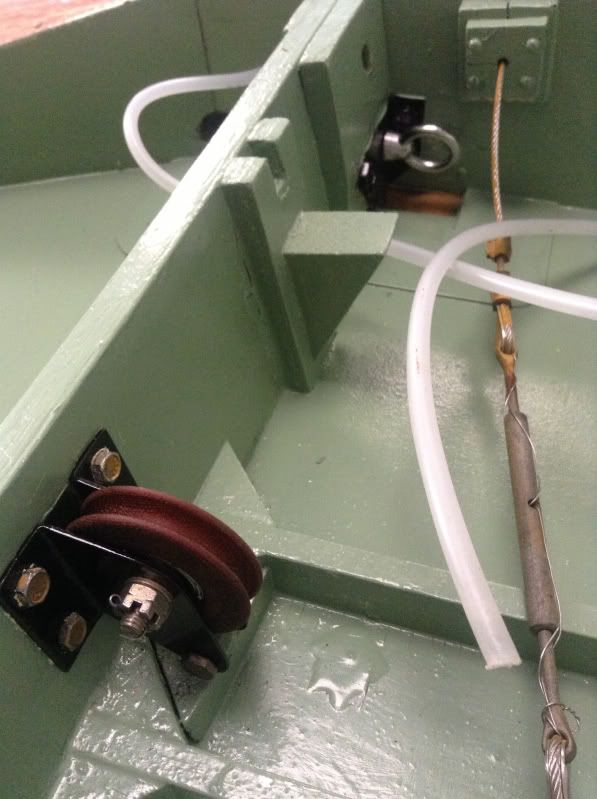
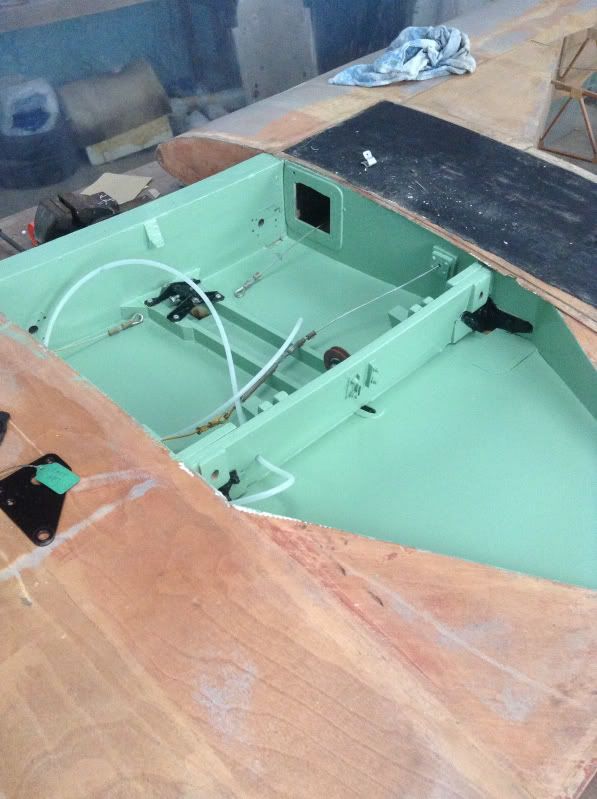
The focus has been on the wing and getting it finally ready for fabric. The control system had to be rigged up, with the freshly covered ailerons temporarily attached to their hanging brackets for new cables to be connected up to the stick, and pulleys were replaced with new. It all looks pretty darned snazzy and I now know why people say it's almost a shame to have to hide all the sexy bits with fabric.
Control system temporarily rigged up.
A couple of layers of glue over the wing later (to make sure the glue that goes all over the fabric has something to stick to) and we were ready to go.
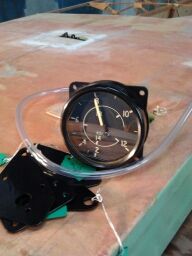
We had to make sure the pitot system worked properly before we considered covering, so a new pitot tube was made with some aluminium tube bought from LAS and the ASI was connected up and checked for sensible readings. It's a lovely instrument, and was found on eBay for �45!! It's brand new, with a manufactured date of circa 1950.
The next time 80kts is shown on this ASI we will be over the Berkshire countryside.